
Run your hosting business fully under your own brand
This guide shows you how to run your hosting business so that your customers see only your brand: your domain, your control-panel address, your website and your support email. Follow the steps in order. You will work in your reseller panel and in the DNS settings of your own domain. You sell to end customers only — you cannot create reseller accounts under your account, and you should not add a reseller sign-up on your site.
Before you start
- Your own domain, such as yourbrand.com, or a plan to buy one.
- Access to the DNS settings for that domain, at Cloudflare or any other DNS provider.
- An active Unitward reseller account, and the login you already use for your reseller panel.
- Your logo and brand colours, if you have them.
- A mailbox you already check, so you can receive mail forwarded from your domain.
Our team can set everything up as a paid service — contact support@unitward.com.
Step 1Get your own domain
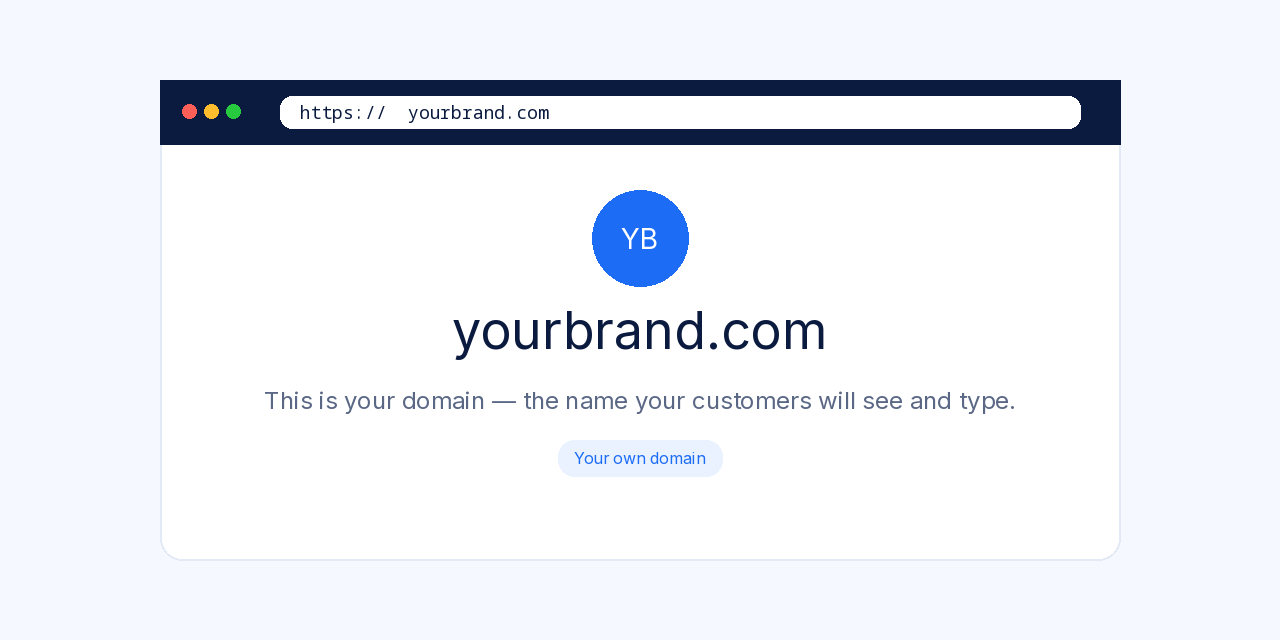
You need a domain that belongs to you, for example yourbrand.com. This is the name your customers will type and see.
If you already have a domain, use it. If not, register one — you can buy a domain from Unitward at unitward.com, or use a domain you already own. After you have the domain, make sure you can open its DNS settings. You will add a record there in the next step. If you want to manage the domain on Cloudflare (recommended for the email and SSL guides that follow), see Connect your domain to Cloudflare.
Step 2Set your branded control-panel address
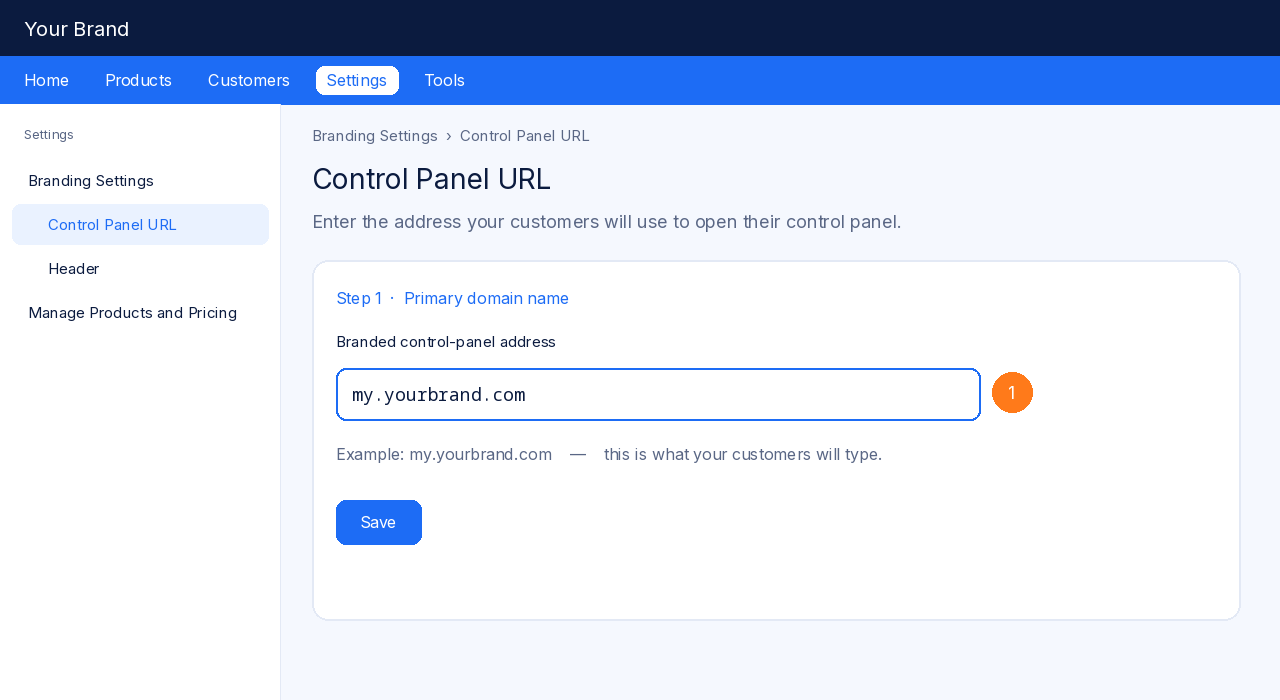
Give your customers a control-panel address on your domain, for example my.yourbrand.com. They will sign in there to manage their services.
First, add a CNAME record at your DNS provider. If you use Cloudflare, the record looks like this. The same values work at any other DNS provider.
| Type | Name | Target | Proxy status | TTL |
|---|---|---|---|---|
| CNAME | my | connect.unitward.com | DNS only | Auto |
After you save the DNS record, open your reseller panel. Go to Settings > Branding Settings > Control Panel URL. In the Fully-Branded URL section, enter your branded address (for example my.yourbrand.com) as the primary domain name, and save it. This is the address your customers will use to sign in. The panel uses the primary address in emails it sends to your customers.
The hostname must be different from your storefront domain. If your email (MX) is on the root domain, use a subdomain for the panel — my.yourbrand.com is a good choice. You can point additional hostnames to the same panel from that page; each one needs its own CNAME to connect.unitward.com, also set to DNS only.
After SSL is installed (next step), open https://my.yourbrand.com in a private window and confirm that the customer sign-in page loads on your domain.
Step 3Install an SSL certificate
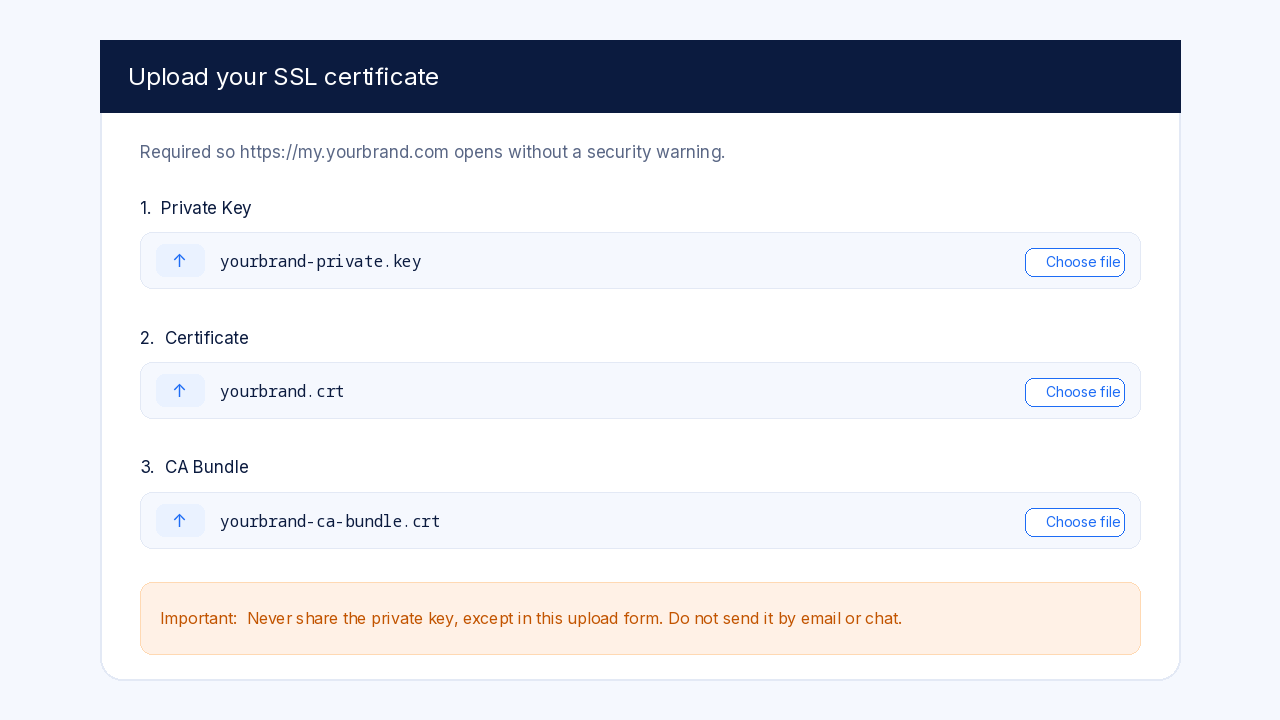
Your branded address needs an SSL certificate so it opens with https:// and browsers do not show a security warning. This step is required.
You can:
- Use a free certificate from Let's Encrypt — follow the detailed guide Get a free SSL certificate for your panel links (Let's Encrypt), or
- Buy a certificate from Unitward's SSL products page at unitward.com.
On the same Control Panel URL settings page, under Step 3: Secure your URL, upload three values: the Private Key, the Certificate (sometimes labelled SSL Certificate) and the CA Bundle. Then save. A separate certificate-upload login may appear; use the same username and password as your reseller panel.
Step 4Put your brand on your storefront
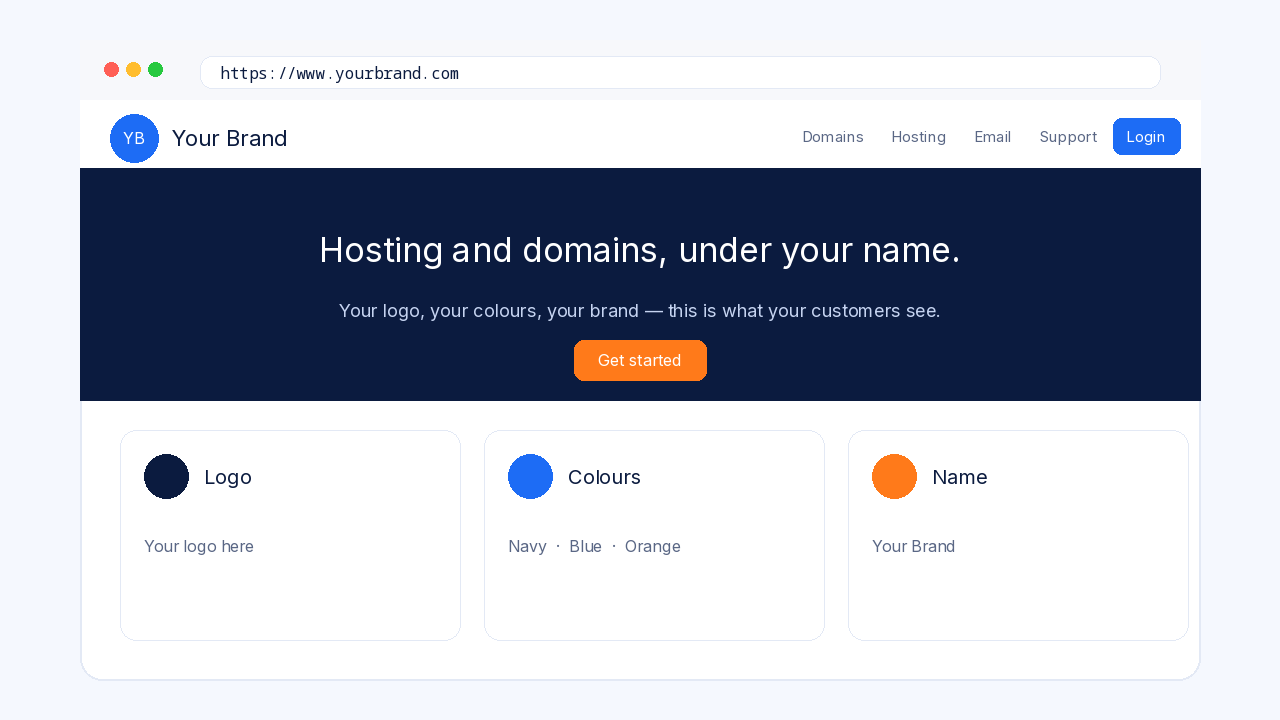
Put your storefront on your own domain, with your logo, your colours and your business name. This is the website your customers visit to learn about you and to order.
In your reseller panel, open the branding settings for your storefront. Upload your logo, set your colours, and use your business name — not a generic name. Point the website to your domain, for example www.yourbrand.com or yourbrand.com, as the settings page instructs. Then open the site and check that it shows your brand.
You sell to end customers only. Do not add a reseller sign-up on your store. If a Resellers link or tab appears on the site, hide or remove it, or write to us and we will help.
Step 5Create a support email on your domain
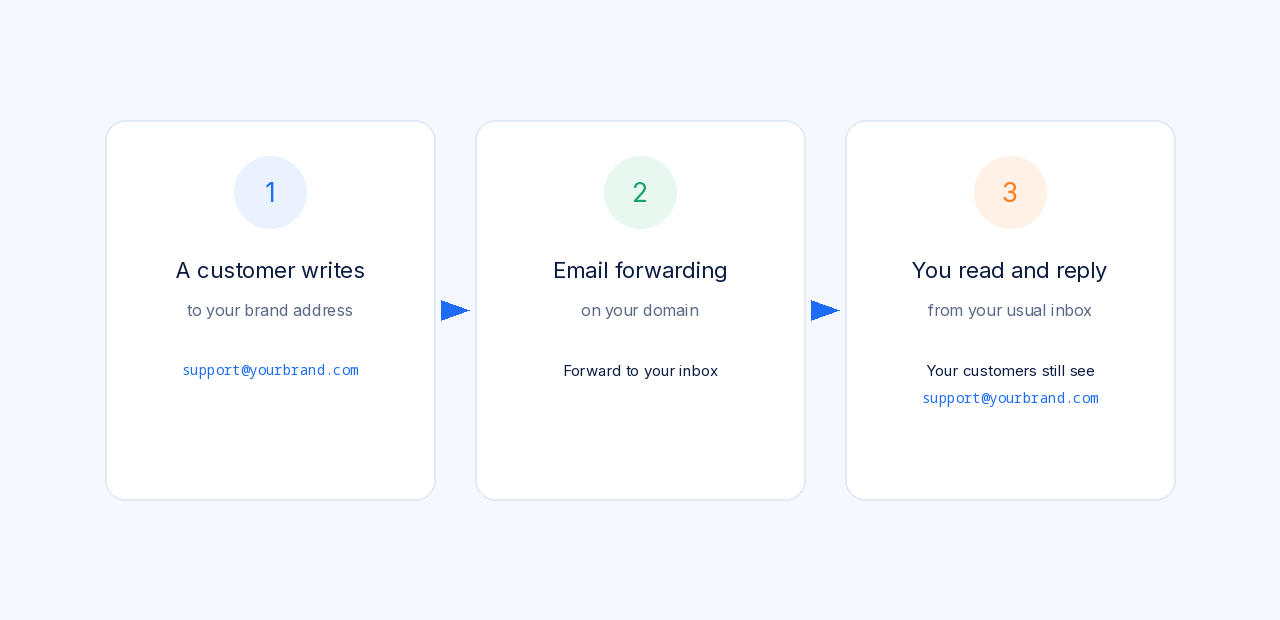
Create a support address on your own domain, for example support@yourbrand.com. This is the address your customers will see and write to.
The simplest way is email forwarding. If the domain is on Cloudflare, follow Create a branded support email with Cloudflare Email Routing. Mail sent to your brand address then arrives in the inbox you already check.
Then, in your reseller panel, set this address as the contact email shown to customers. Do not show a personal mailbox or a personal phone number on your site. For a full privacy check, see Protect your privacy on your branded site.
Step 6Set your prices and test an order
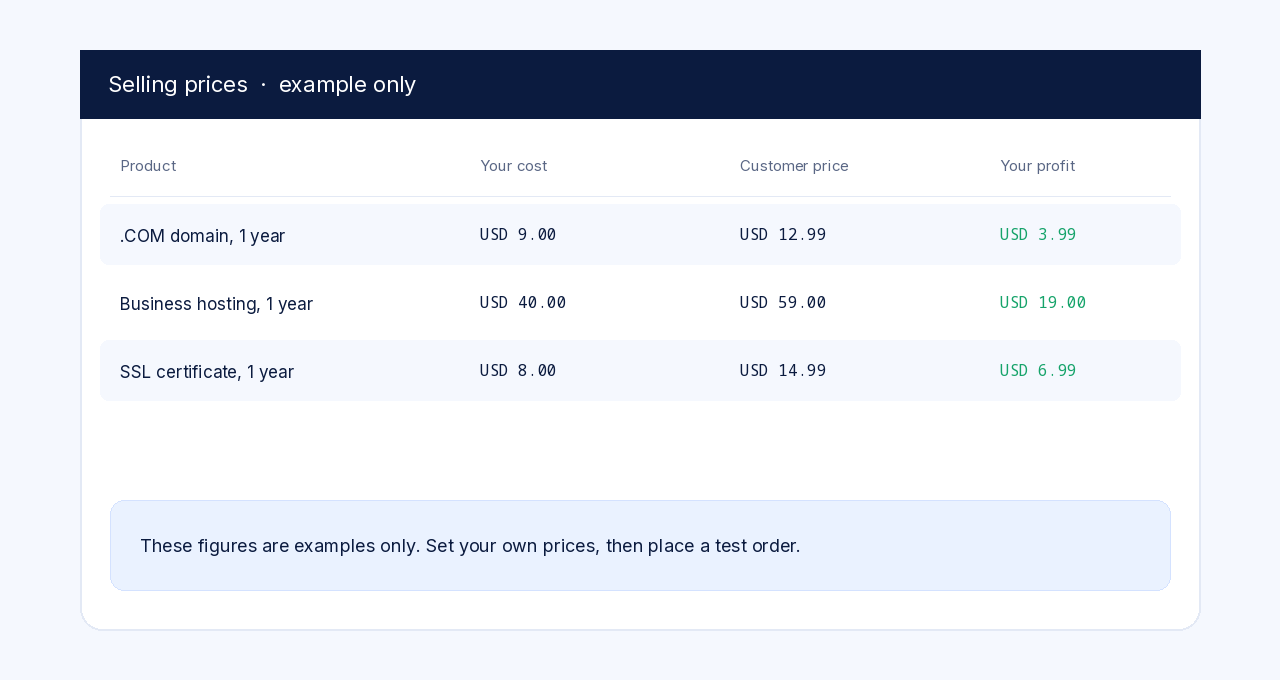
In your reseller panel, set the prices your customers will pay. Keep each selling price above your cost so you make a profit. For the detailed pricing screens, see the guide on setting selling prices.
Then place a test order — for example a low-cost product for a test customer — and walk through it as a customer would. Confirm that the order confirmation, the control panel and any emails use your brand name and your support address.
Step 7Do a final check of every customer-facing page
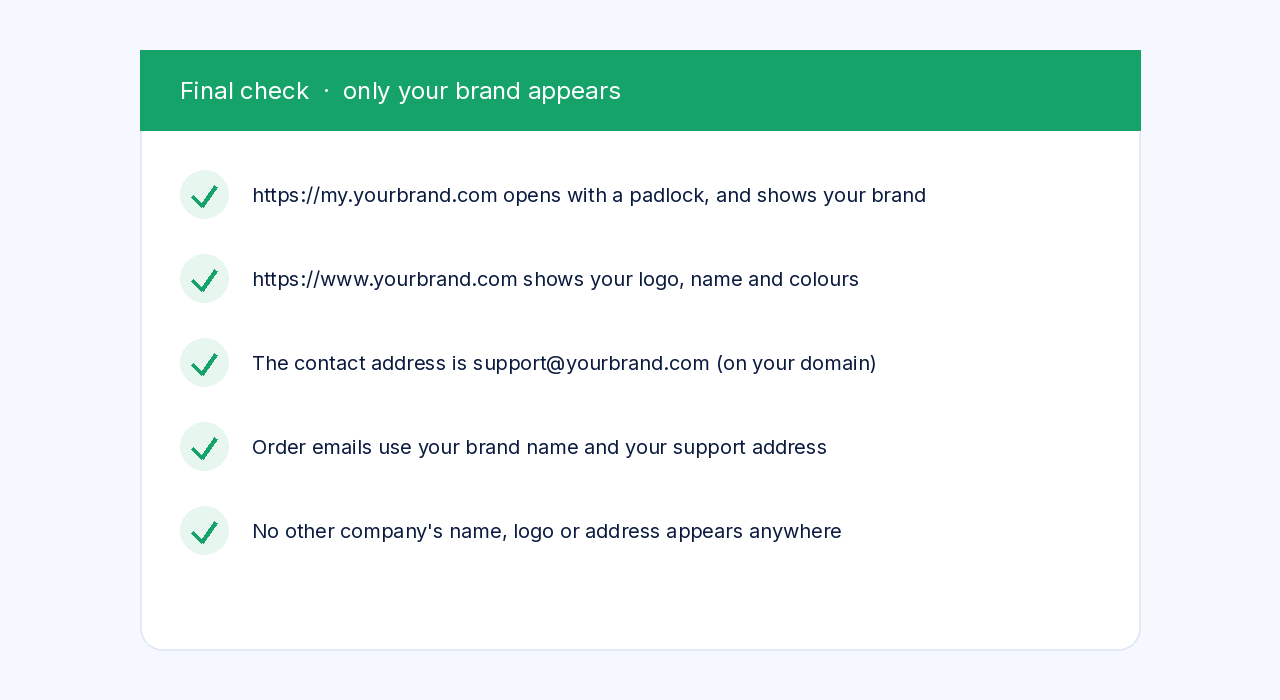
Open each page your customers can see, in a private browser window if you can, and confirm that only your brand appears.
- The control panel at my.yourbrand.com opens with https:// and shows your brand.
- Your storefront on yourbrand.com shows your logo, name and colours.
- The contact address is support@yourbrand.com, or another address on your domain.
- Order emails use your brand name and your support address.
- No personal email or personal phone number appears on the site, in the footer or in email signatures.
- The store has no reseller sign-up, and no other company's name, logo or address appears in the pages, the emails or the browser address bar.
If anything still looks wrong, go back to the matching step, or write to support@unitward.com.
✅ Your brand is ready for customers
Open every page your customers see and confirm that only your name, your domain and your email appear. If you want us to finish the setup for you, write to support@unitward.com.
Our team can set everything up as a paid service — contact support@unitward.com.
Related guides
Become a Unitward reseller and set up your storefront
Ready
Put your logo and brand on your store
Ready
Get a free SSL certificate for your panel links (Let's Encrypt)
Ready
Create a branded support email with Cloudflare Email Routing
Ready
Connect your domain to Cloudflare
Ready
Protect your privacy on your branded site
Ready