
Get a free SSL certificate for your panel links (Let's Encrypt)
This guide shows you how to get a free, trusted SSL certificate from Let's Encrypt and upload it for your branded customer login, such as my.yourbrand.com. That address is a DNS-only hostname, so a proxy certificate on your website does not cover it. You will issue a wildcard certificate for *.yourbrand.com and yourbrand.com, then upload the private key, the certificate and the CA bundle in your reseller panel.
Before you start
- Your domain, such as yourbrand.com, with access to its DNS settings.
- The branded panel hostname already created as a CNAME to connect.unitward.com, set to DNS only. See Run your hosting business fully under your own brand.
- A computer where you can run commands (Linux or macOS; on Windows you can use WSL or the manual DNS option).
- For the easiest method: a Cloudflare account on that domain, so you can create a scoped API token.
Our team can issue the certificate, upload it and test the address as a paid service — contact support@unitward.com.
Step 1Understand why this hostname needs its own certificate
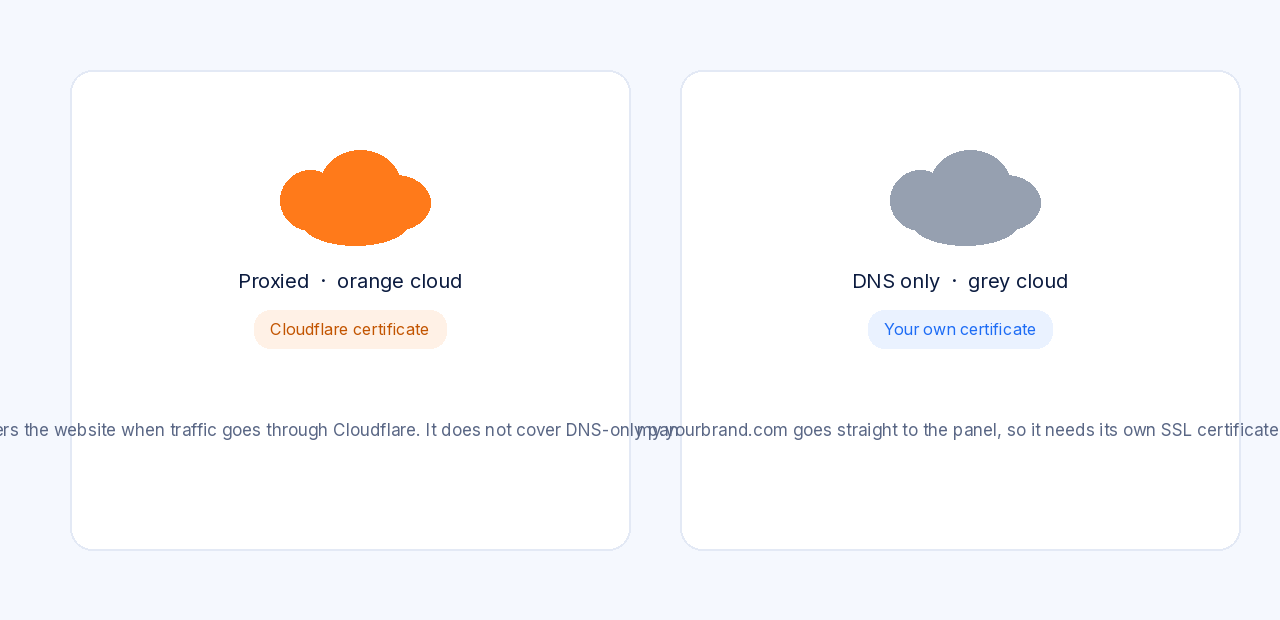
Your website can sit behind a proxy (the orange cloud). In that case the proxy can present a certificate for the website. Your customer login hostname is different. It must be a DNS only (grey cloud) CNAME to connect.unitward.com, so traffic goes straight to the panel. A proxy certificate therefore does not cover my.yourbrand.com.
You install a certificate of your own on the panel side. Browsers will then show a padlock when customers open https://my.yourbrand.com.
Step 2Get a free Let's Encrypt wildcard certificate
Let's Encrypt is a free, trusted, non-profit certificate authority. You do not create a website account with them. A small tool on your computer talks to their ACME service and proves you control the domain.
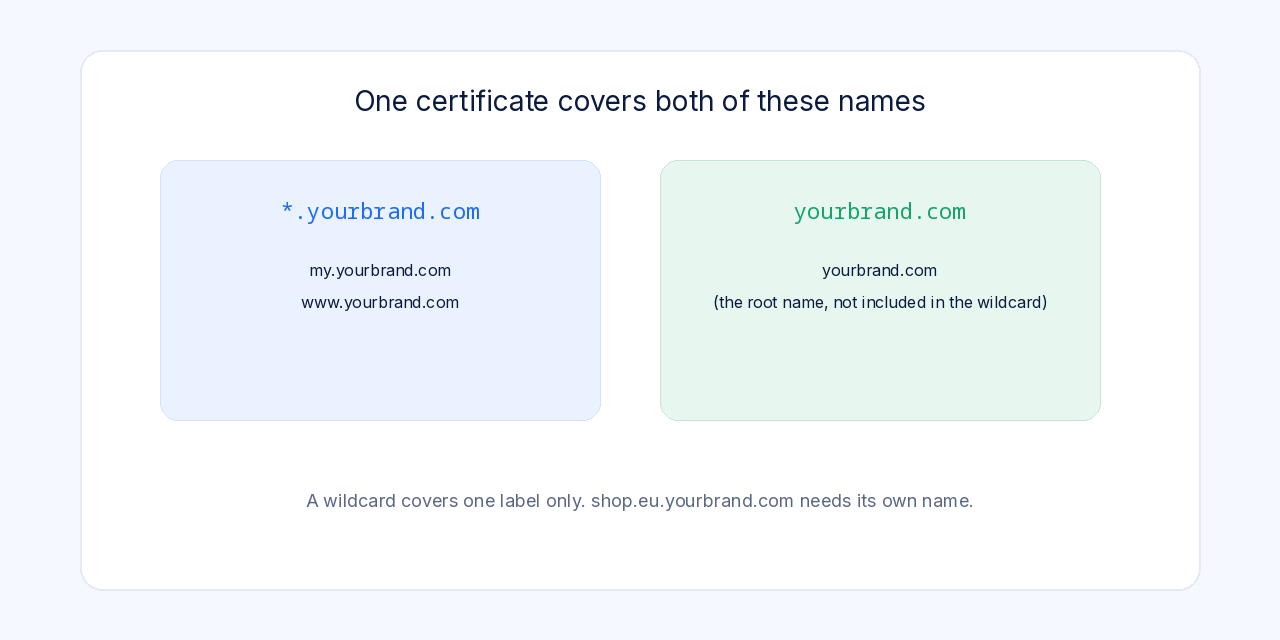
Issue one wildcard certificate that covers yourbrand.com and *.yourbrand.com. That single certificate then works for my.yourbrand.com and www.yourbrand.com. A wildcard does not include the root name on its own, so you always add both names. It also does not cover a name with an extra label, such as shop.eu.yourbrand.com.
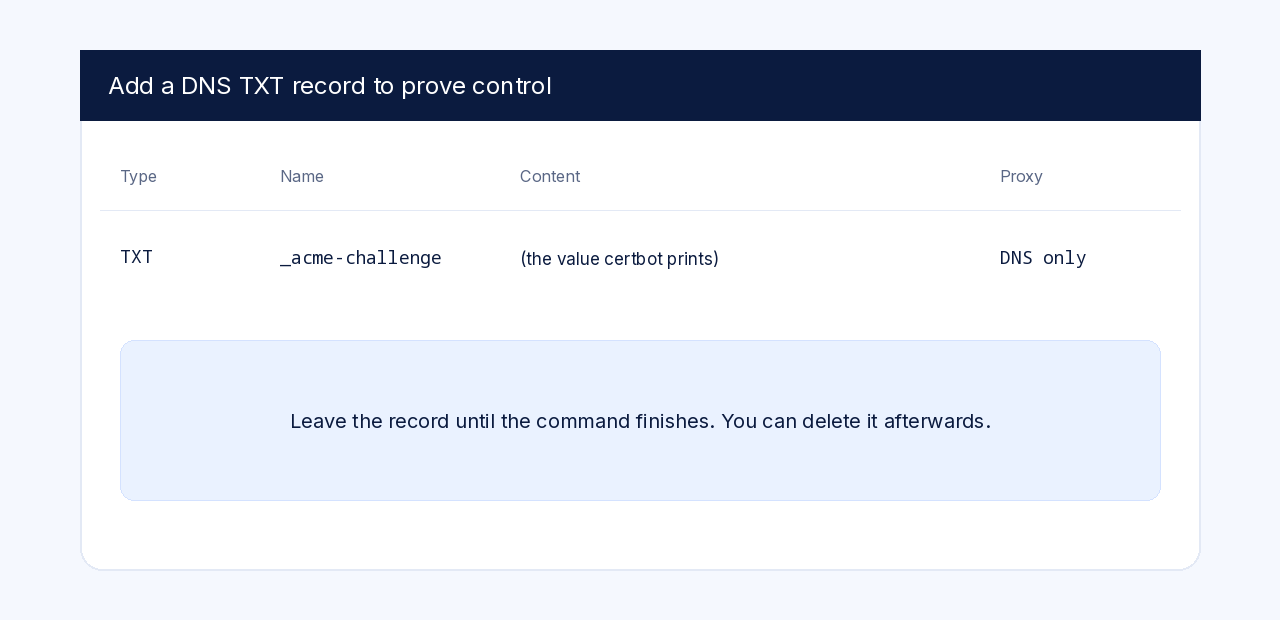
Validation uses DNS-01: a short TXT record at _acme-challenge.yourbrand.com. Option A below can create and remove that record for you. Option B asks you to add it yourself.
Step 3Create a scoped Cloudflare API token (Option A)
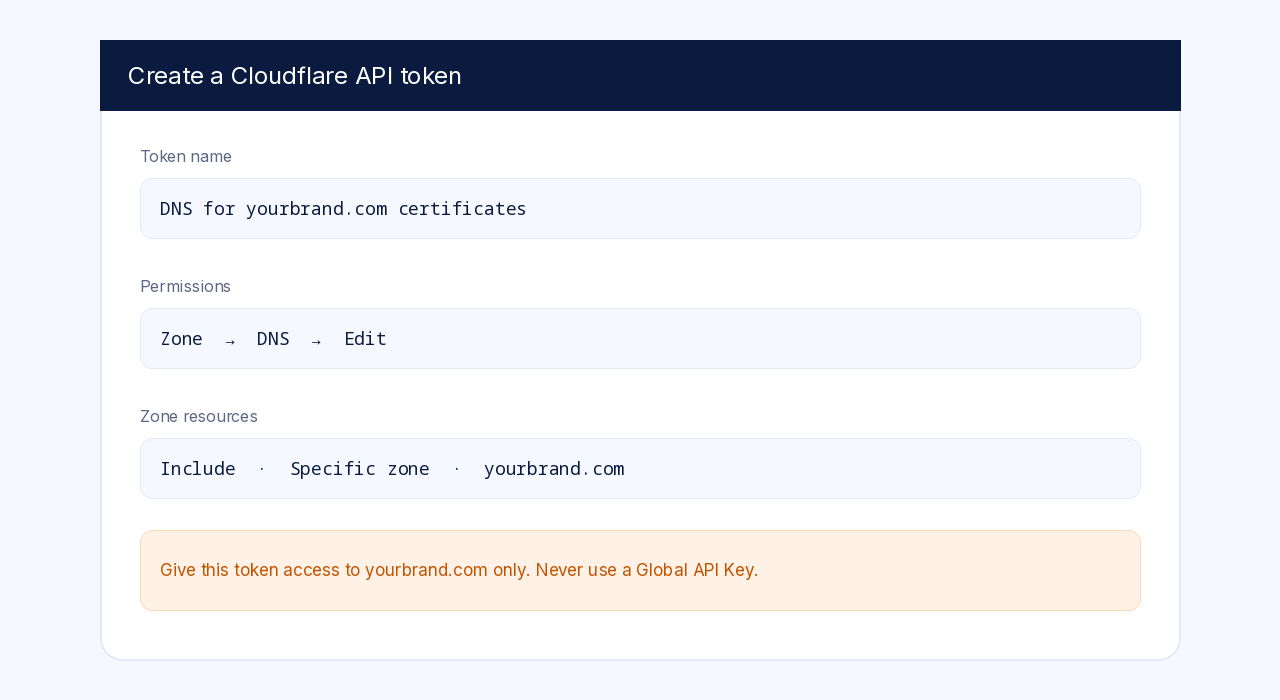
Option A is the easiest path if this domain is already on Cloudflare. You create a token that can edit DNS for that zone only. Do not use a global API key.
In Cloudflare, open your profile, then API Tokens, and click Create Token. Use a custom token with these permissions:
- Zone — DNS — Edit
- Zone — Zone — Read
Under Zone Resources, include only the one zone yourbrand.com. Create the token and copy it once; Cloudflare will not show it again. Store it in a credentials file. On Linux, if you will run certbot with sudo, use an absolute path under root, because ~ would expand to /root:
sudo mkdir -p /root/.secrets
sudo nano /root/.secrets/cloudflare.ini
Put only this line in the file, with your real token in place of the placeholder:
dns_cloudflare_api_token = your-cloudflare-api-tokensudo chmod 600 /root/.secrets/cloudflare.iniOn macOS, you can use /etc/letsencrypt/secrets/cloudflare.ini with the same contents and chmod 600, or another path that the certbot process can read. Never put the token in a chat, an email or a screenshot.
Step 4Option A: issue the certificate with certbot or acme.sh
On Linux, Certbot’s documented install is snap:
sudo snap install --classic certbot
sudo snap set certbot trust-plugin-with-root=ok
sudo snap install certbot-dns-cloudflare
Issue the certificate (use the same credentials path you created):
sudo certbot certonly \
  --dns-cloudflare \
  --dns-cloudflare-credentials /root/.secrets/cloudflare.ini \
  -d yourbrand.com \
  -d '*.yourbrand.com'
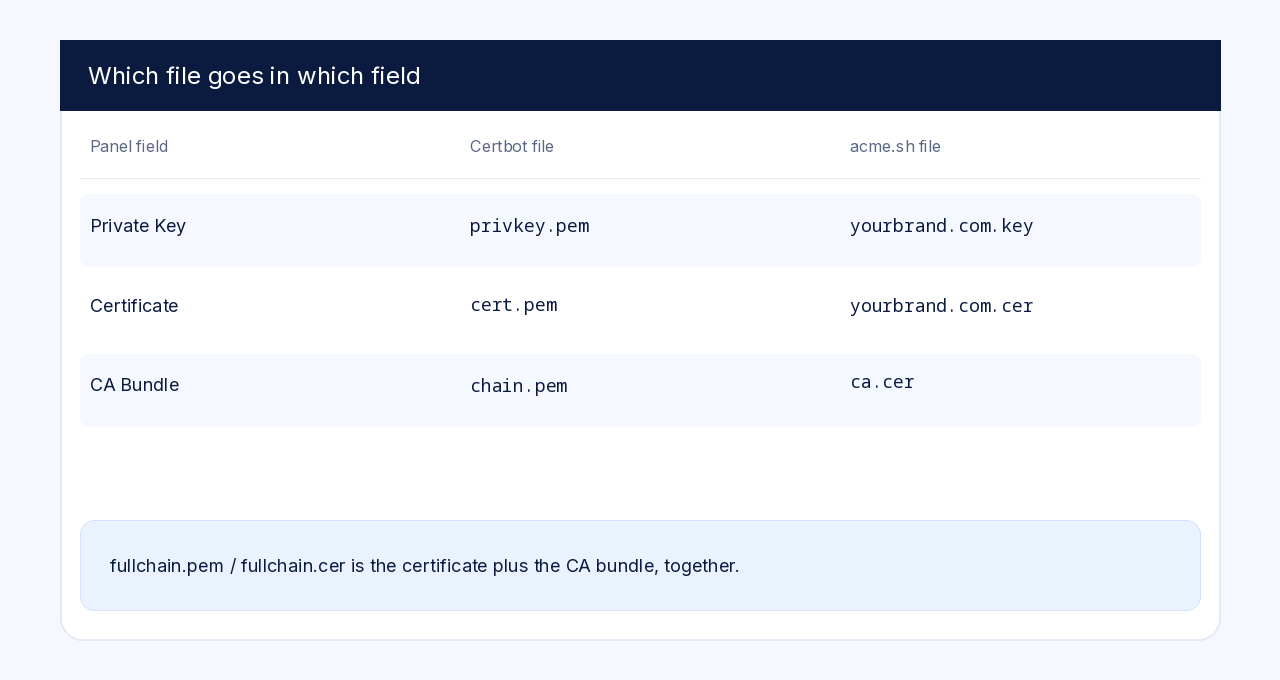
Certbot writes these files under /etc/letsencrypt/live/yourbrand.com/:
| File | Upload as |
|---|---|
| privkey.pem | Private Key |
| cert.pem | Certificate |
| chain.pem | CA Bundle |
fullchain.pem is the certificate and chain together. Use it only if a form asks for a full chain; the panel form uses the three fields above.
On macOS with Homebrew:
brew install certbot
$(brew --prefix certbot)/libexec/bin/pip install certbot-dns-cloudflare
Then run sudo certbot certonly with the same flags, pointing --dns-cloudflare-credentials at your credentials file.
Using acme.sh instead (Linux or macOS). Let’s Encrypt is not the default CA, so you must pass --server letsencrypt:
curl https://get.acme.sh | sh -s email=support@yourbrand.com
# open a new terminal (or source the installer message) so the acme.sh command is available
export CF_Token="your-cloudflare-api-token"
export CF_Zone_ID="your-cloudflare-zone-id"
acme.sh --issue --dns dns_cf -d yourbrand.com -d '*.yourbrand.com' --server letsencrypt
You can copy the Zone ID from the Cloudflare overview page for that domain. Files are saved under ~/.acme.sh/yourbrand.com/ or ~/.acme.sh/yourbrand.com_ecc/:
| File | Upload as |
|---|---|
| yourbrand.com.key | Private Key |
| yourbrand.com.cer | Certificate |
| ca.cer | CA Bundle |
Step 5Option B: prove control with a manual DNS TXT record
Use this if you cannot create a Cloudflare token, or if the domain’s DNS is not on Cloudflare. Certbot will pause and show a TXT value to add.
sudo certbot certonly --manual --preferred-challenges dns \
  -d yourbrand.com -d '*.yourbrand.com'
Create a TXT record for _acme-challenge.yourbrand.com with the value Certbot prints. Wait until the record is visible, then continue in the terminal. You may be asked for two TXT values (one for each name); add both, or replace the value if the tool asks you to do it in two rounds. The resulting files are in the same /etc/letsencrypt/live/yourbrand.com/ folder as Option A.
A certificate issued this way does not auto-renew, because Certbot cannot update the TXT record by itself. Plan to repeat this step before 90 days, or switch to Option A when you can.
Step 6Upload the files in your reseller panel
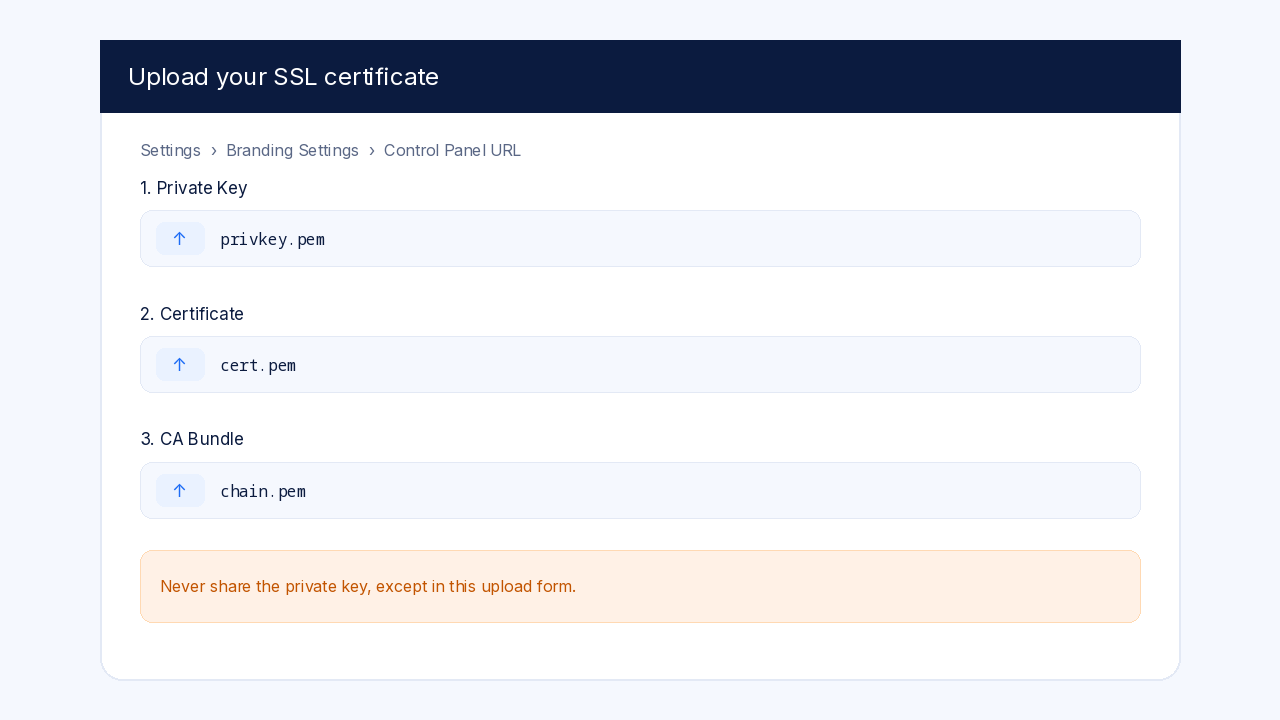
Open your reseller panel. Go to Settings > Branding Settings > Control Panel URL. Under Step 3: Secure your URL, open the upload option (it may be labelled Upload certificates).
Paste or upload:
- Private Key — privkey.pem or yourbrand.com.key
- Certificate (sometimes labelled SSL Certificate) — cert.pem or yourbrand.com.cer
- CA Bundle — chain.pem or ca.cer
Save or submit. A separate certificate-upload login may appear. Use the same username and password as your reseller panel. Do not use a different account.
Step 7Test the address
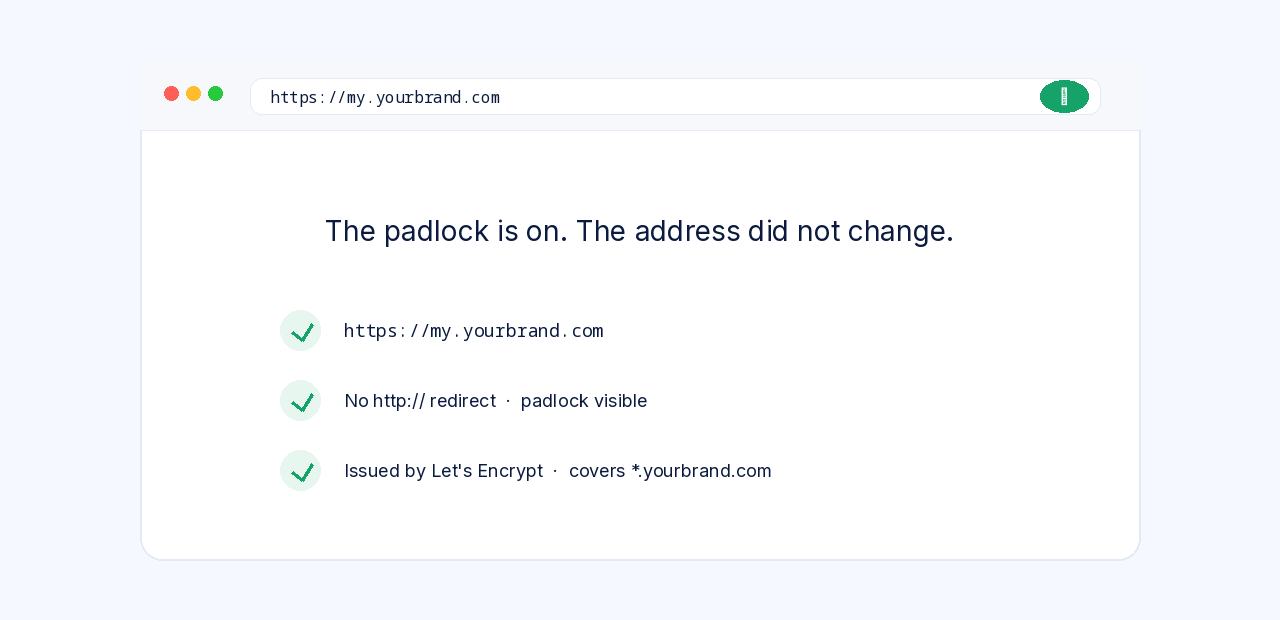
Wait a few minutes, then open https://my.yourbrand.com in a private browser window. Check that:
- The address uses https:// and the padlock is visible.
- There is no security warning, and the page is not forced back to http://.
- The certificate is issued for *.yourbrand.com or for my.yourbrand.com (open the padlock and view the certificate).
- The sign-in page is the customer panel on your domain, not a different hostname.
If the browser still warns, confirm the CNAME is DNS only, the three fields were the matching set from the same issue, and DNS for the hostname has propagated.
Step 8Renew every 90 days and re-upload
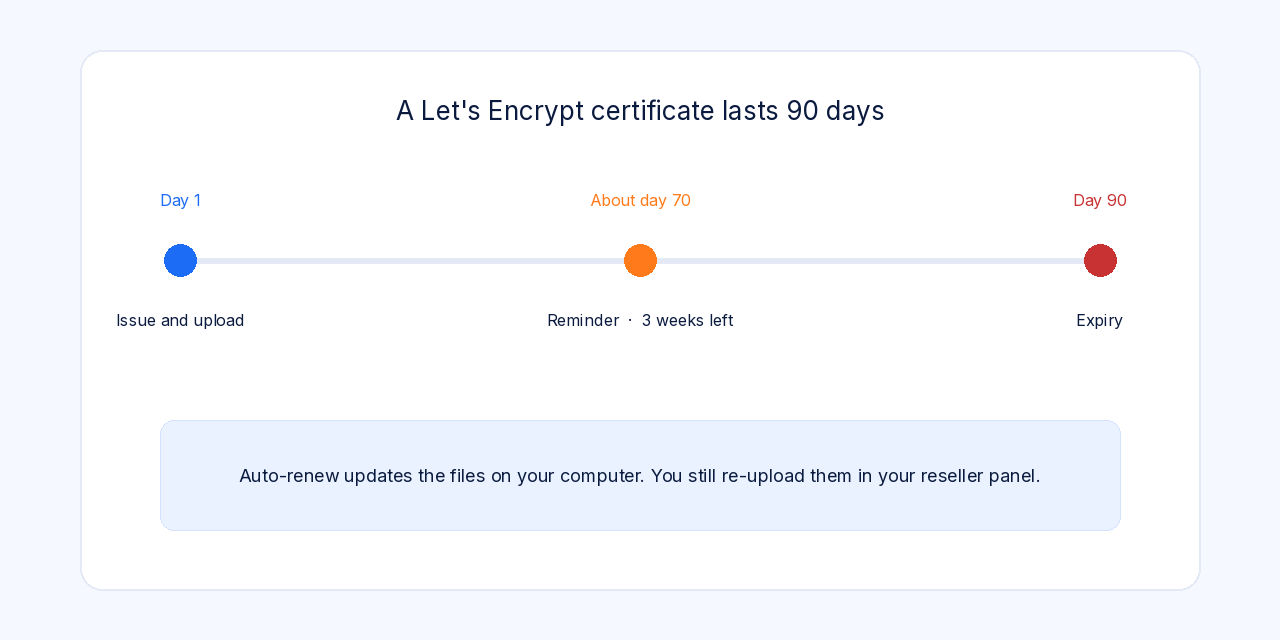
Let's Encrypt certificates last 90 days. Set a reminder about three weeks before expiry.
If you used Certbot with the Cloudflare plugin, test renewal and keep the timer Certbot installed:
sudo certbot renew --dry-runIf you used acme.sh, the installer normally adds a cron job. You can also run:
acme.sh --renew -d yourbrand.com --server letsencryptAfter a successful renewal, re-upload the new Private Key, Certificate and CA Bundle on the same Control Panel URL page. The panel does not pick up the new files by itself.
Manual DNS issuance (Option B) will not renew automatically. Repeat Option B, or move to Option A.
✅ Your panel link opens with https
https://my.yourbrand.com should show a padlock, with no security warning. Set a reminder to renew before 90 days, and re-upload the new files after each renewal. If anything fails, write to support@unitward.com.
Questions and problems
- Why not just use the website’s certificate?
- The customer login hostname is DNS only. It does not pass through the website proxy, so that certificate is not presented for my.yourbrand.com.
- The upload page asked me to sign in again. Is that expected?
- Yes. A separate certificate-upload login may appear. Use the same username and password as your reseller panel.
- acme.sh issued a certificate that is not from Let's Encrypt. What happened?
- acme.sh’s default certificate authority is not Let's Encrypt. Re-run the issue command with --server letsencrypt.
- The browser still shows a warning after I uploaded the files.
- Confirm the three files are from the same issue, the CNAME is DNS only and points to connect.unitward.com, and you opened https://. Wait a few minutes and try a private window.
- I do not use Cloudflare. Can I still get a free certificate?
- Yes. Use Option B and add the TXT record at whatever DNS provider you use. You will need to repeat that process to renew.
Our team can issue the certificate, upload it and test the address as a paid service — contact support@unitward.com.